Step-By-Step Guide
Step 1
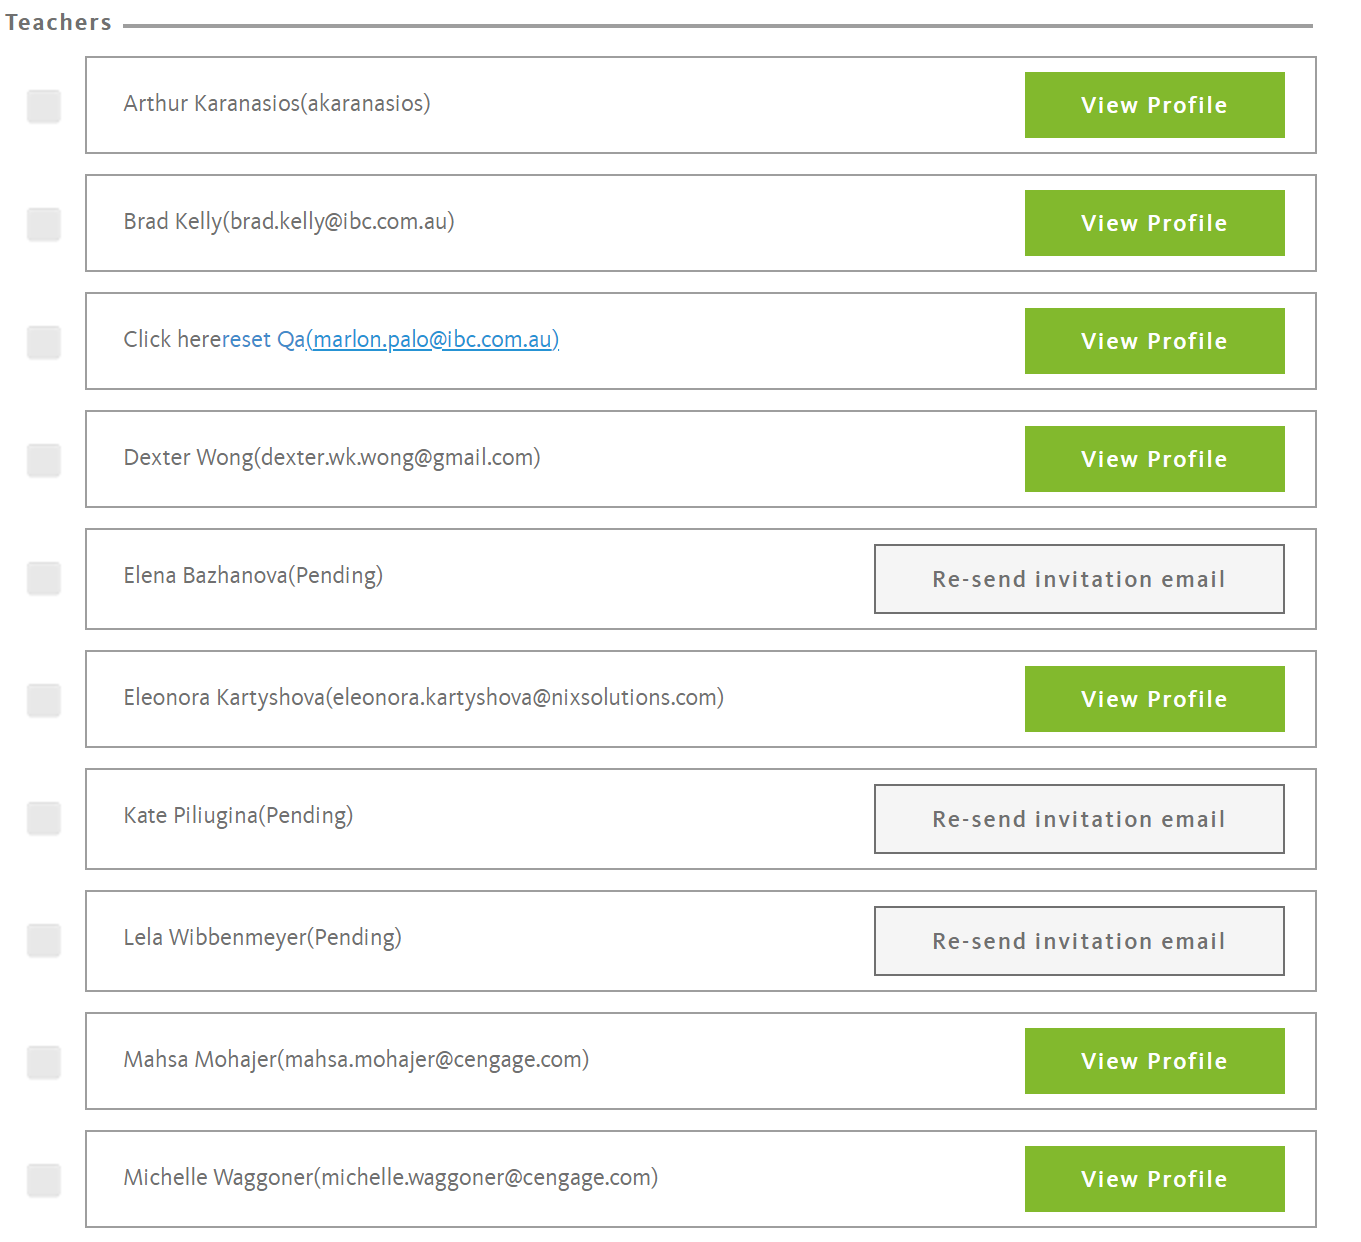
Invite new teachers ahead of time. For a teacher account to be fully set up, the teacher needs to accept the invitation email.
Tip: If they have trouble finding the invitation email, please ask they double check their spam folder

Step 2
Review your groups and classes from last year. Make sure that
groups are marked as groups and classes are marked as classes.
Tip: When viewing the Group page, you can see them grouped by ‘My class/es’, ‘My groups’, ‘Other groups’ and ‘Other classes’. This will allow you to tell which are marked as groups, and which as classes.
Step 3
Delete any groups and sessions that are not needed for the new year.
Step 4
Create any new classes for those grades/year levels that are going to use PM eCollection next year.
Tip: To make the rollover process easier, name your classes in a way that you can distinguish them from current year classes. e.g. 1A 2021
If you have classes that directly rollover from year-to-year, simply rename last year’s class.
Step 5
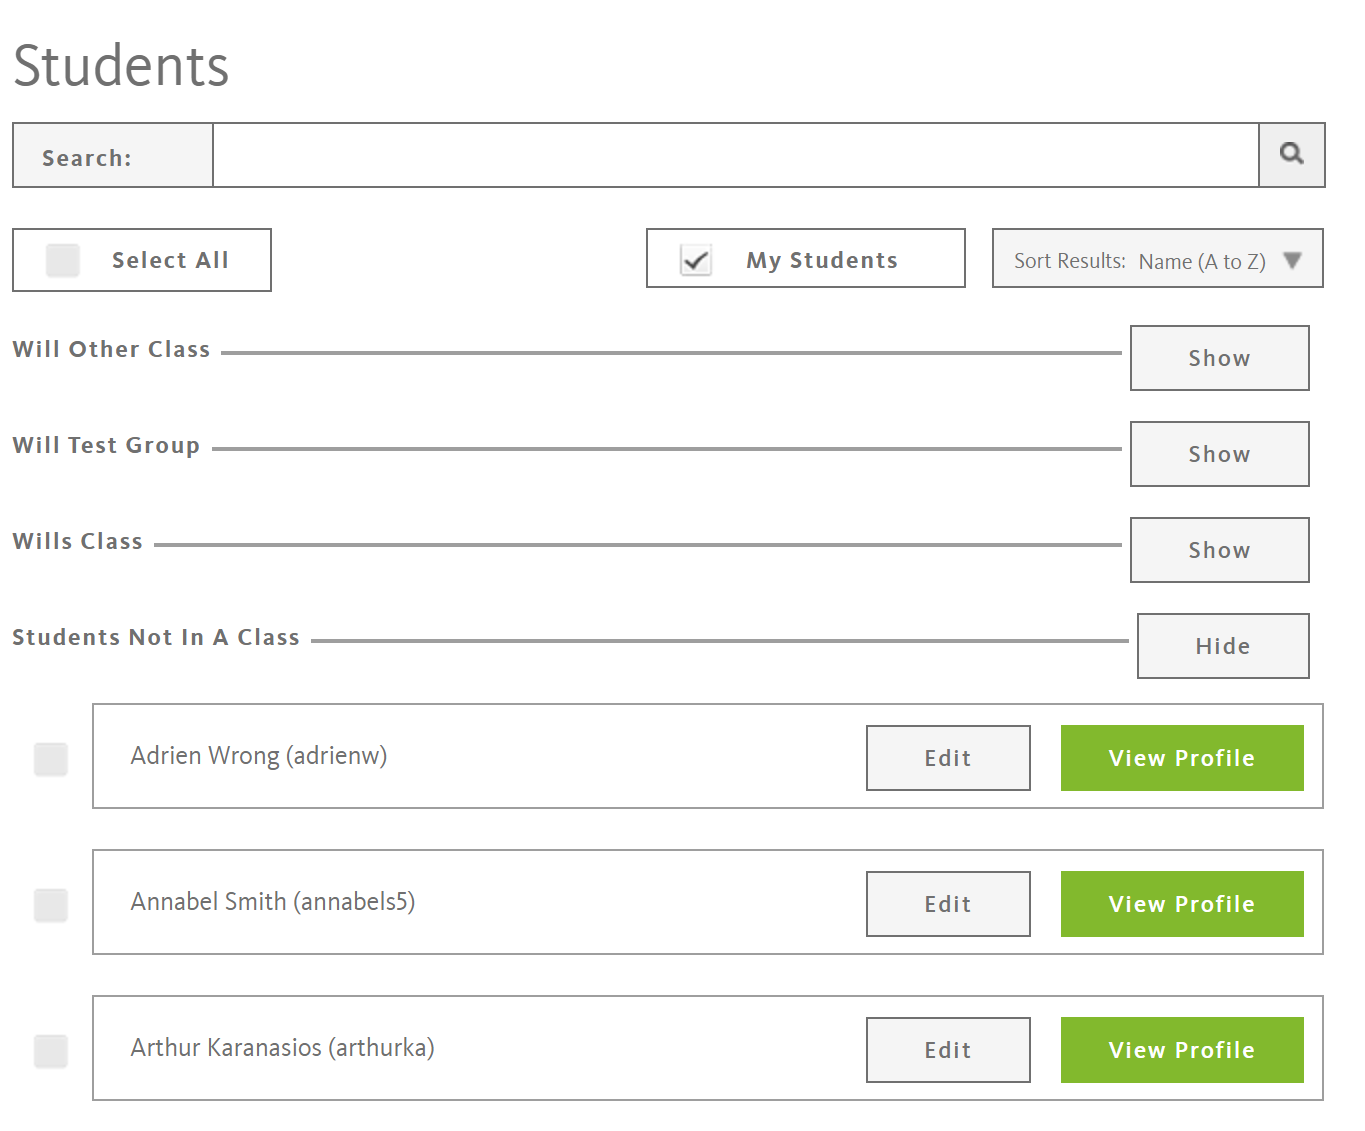
Ensure no students are in the ‘Students not in a class’ area of the students page.
Tip: Click the ‘My Students’ checkbox to only see your classes and ‘Students not in a class’. Assign any students in the ‘Students not in a class’ area into a current year’s class that matches the grade/year level they are in. (This will help make a smooth rollover experience.)

Step 6
Delete all current highest grade/year level classes. This will move all students within these classes to the ‘Students not in a class’ area in the system.
- * Go to the ‘Students not in a class’ area on the ‘Students’ page.
- * Select and remove any students that will not be using PM eCollection in the new year. Note: Removing a student will make this student licence available for another student; it will not reduce the number of student licences purchased.
Tip: If any students are remaining in this grade/year level in the new year, do not delete them
Step 7
Now move your second-highest grade/level students, through to your lowest grade students, into their new classes for 2021.
First, delete all classes for a
specific grade/year level. This will move all students into the ‘Students not in a class’ area. Then, for each class in a grade/year level:
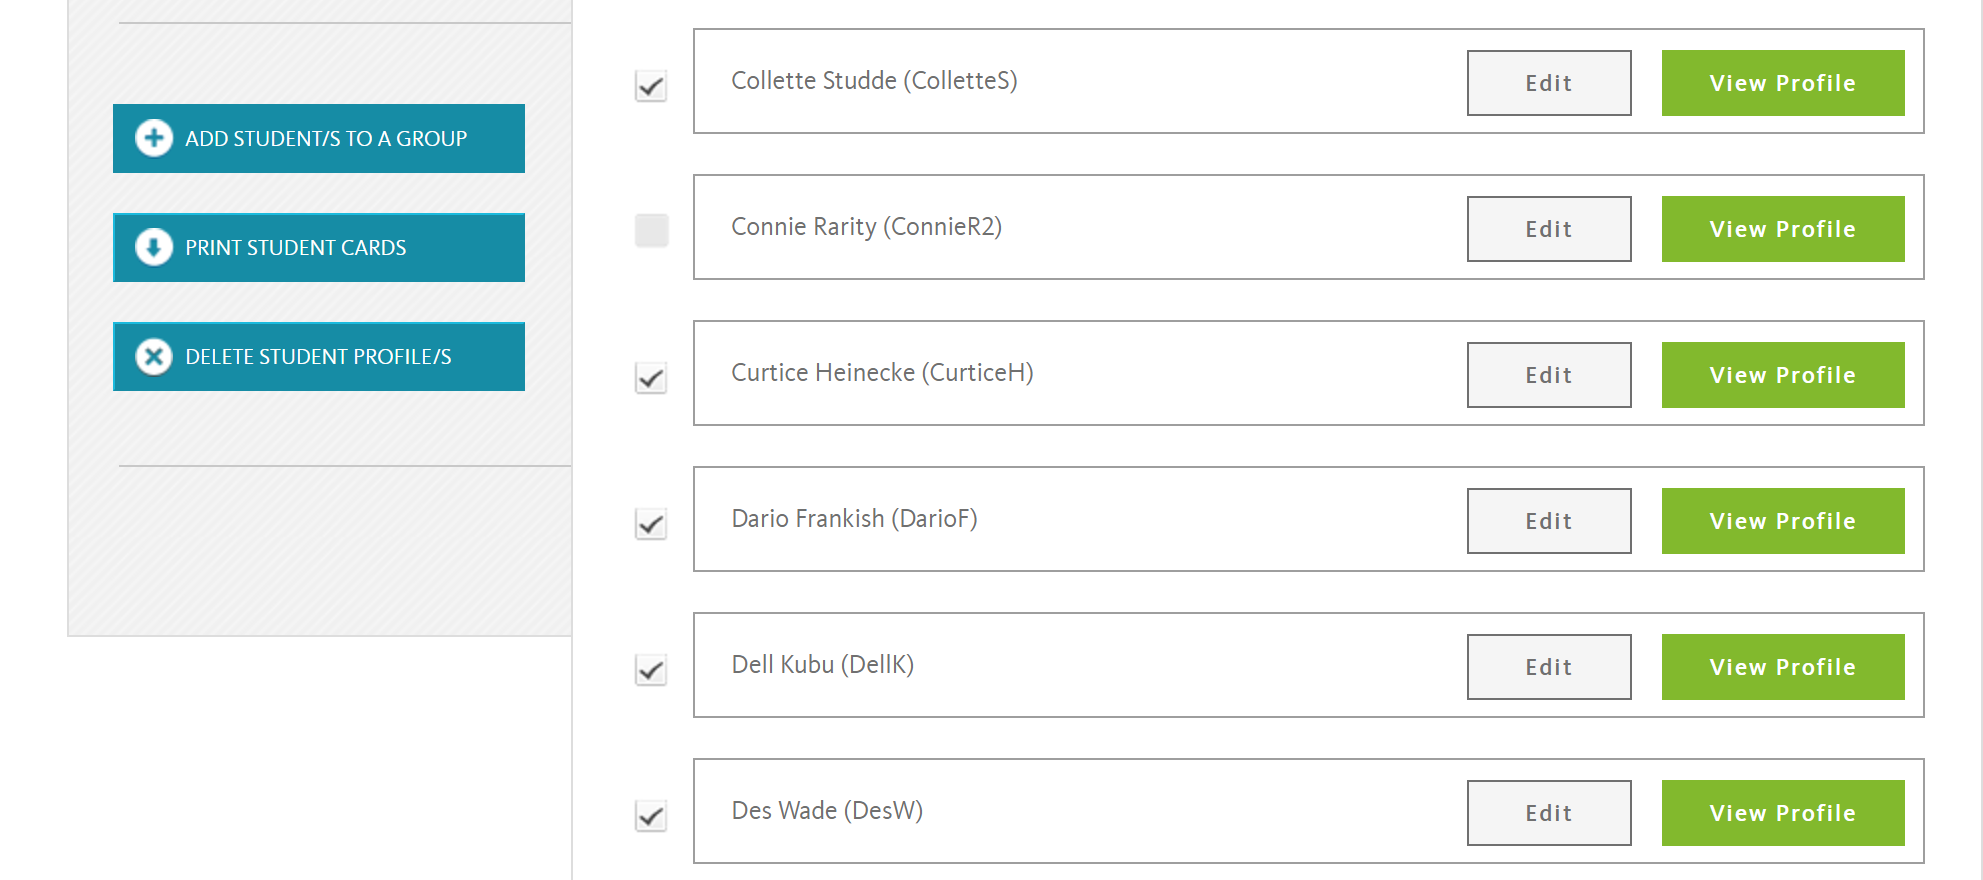
- * Find and select all students in a class on the ‘Students’ page
- * Select ‘Add to Group’ on the left-hand menu

- * Select the relevant class in the new year that you are moving these students to and confirm with ‘Add to Group’ at the bottom of the page
- * Scroll back up the page to see the confirmation message and select ‘Finish adding to group’
Step 8
Delete any students or teachers that will not be using PM eCollection in the new year.
Tip: You will find these students in the ‘Students not in a class’ area on the ‘Students’ page.
Step 9
Set-up new students for the new year.
- * Import your list of new students
- * Assign all your lowest grade/year level students into their classes in the new year via the students or groups pages
- * Assign any other new students in higher grade/year levels to their classes
Tip: You will need to increase your licences if you have more students in the new year than the current year.
Step 10
Have teachers log-in and view their classes, through the ‘Group’ screen. They can
print their students’ login cards.
Tip: Existing students that are rolling over will retain their current login details (i.e. username/passwords).